You've got a mixture of US (Molex) wiring and UK/JAP (AMP-UP) wiring.
First stage is to sort the power out.
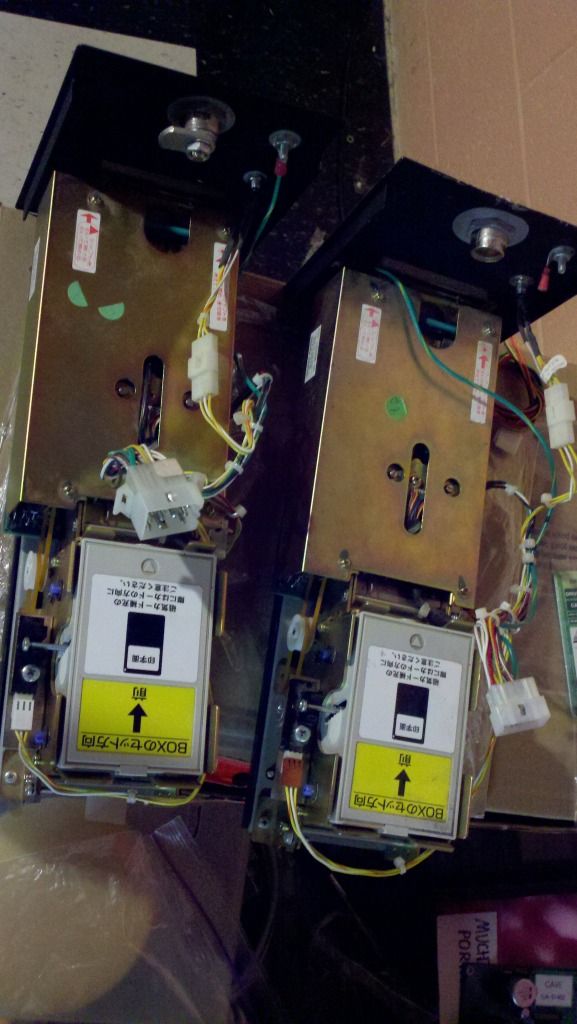
The card reader itself needs 12V(at about 6amps) and a 5V (the 5V can be obtained from the Sun JVS PSU - but not the 12V!) - looking at the pic you have the seperate 6.3A 12V PSU.
The PSU is easy enough to wire up.
You got a pink/blue wire (which is 100V - tap it from your power distrubtion board) and then from there you should have a JST VH connector, it's marked, but it should have about 2 or 3 pins of 12V (Red) and 2 or 3 pins of GND (White), also in the loom should be 5V (Yellow) which you will need to splice into your regular Naomi PSU.
Connect/modify the wiring all the way to the card reader - that's the power sorted.
The TX/RX wire (RS422 serial cable) is RF Sheilded (in a grey cable) - the JST NH connector (7pin IIRC) hooks into the Naomi 2 mainboard, this wire should go all the way into the reader (it's all on the Molex conector, but the colours should match).
Finally you need to make your Naomi 2 is setup for serial TX/RX by checking the jumpers.
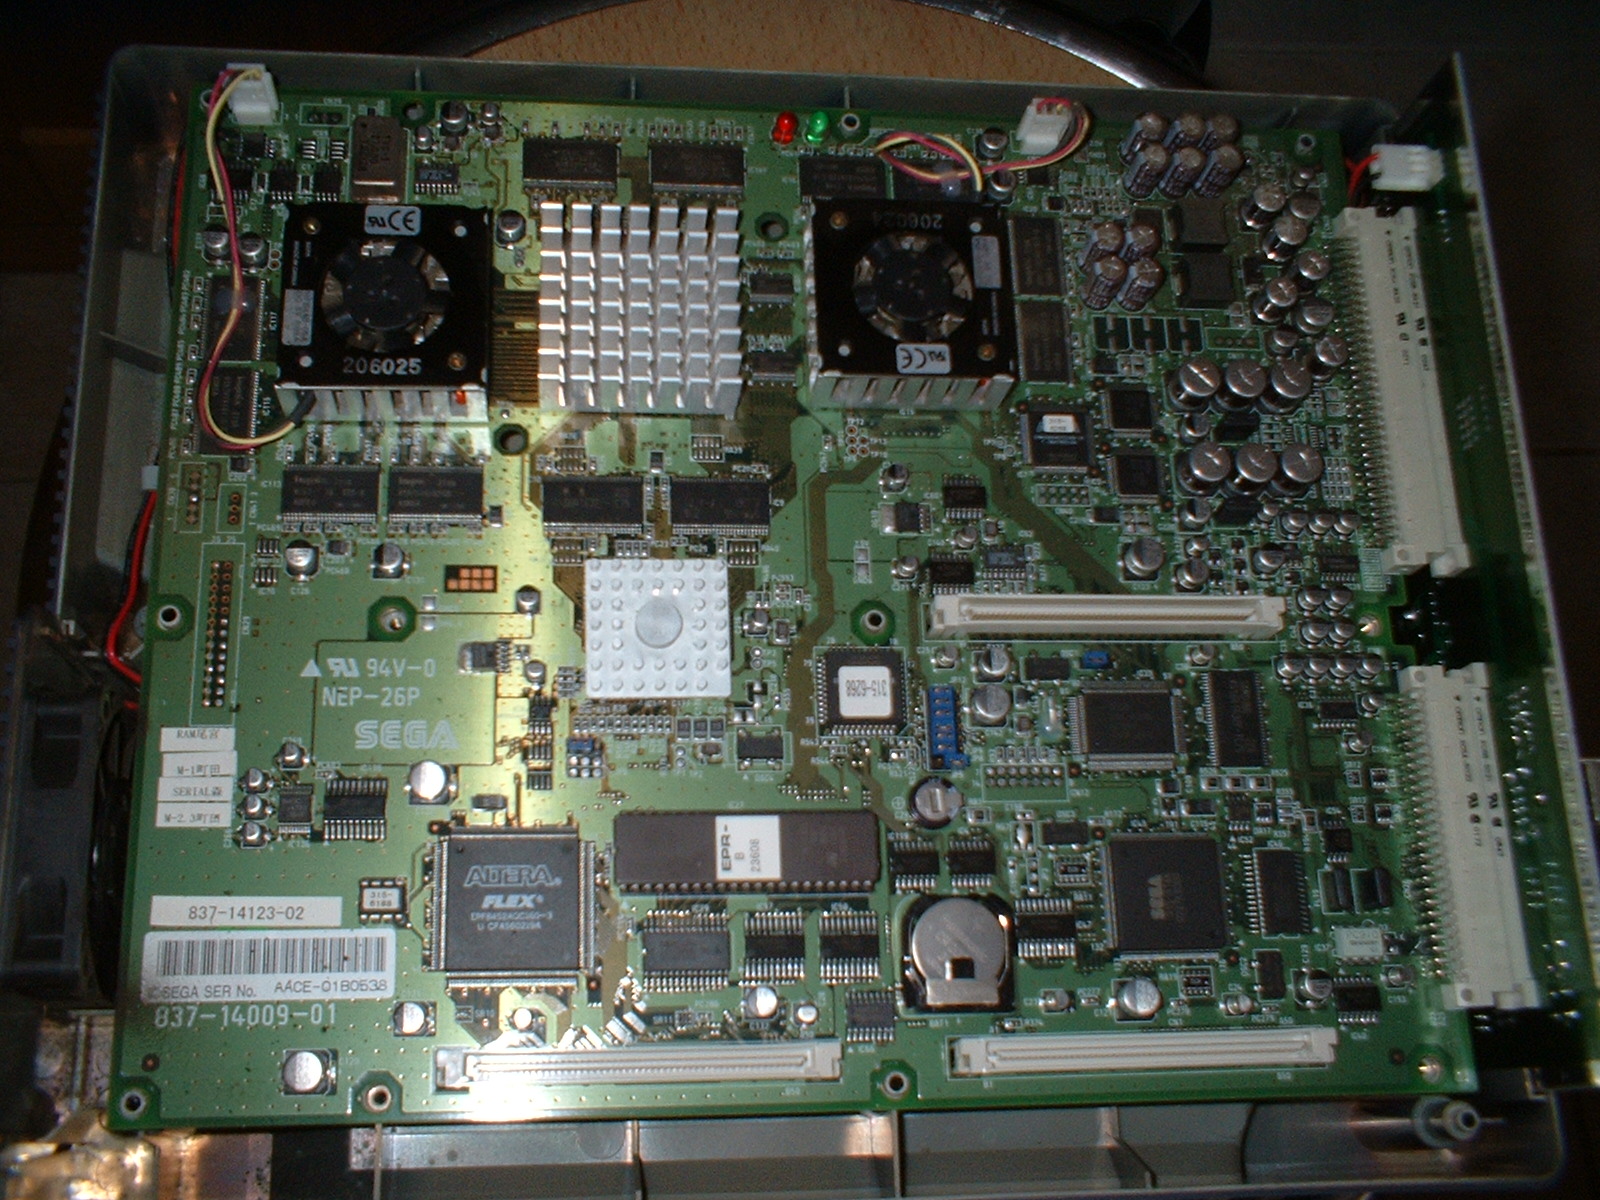
A row of 7 jumpers (blue)
I hope that helped a little.